Provider integrations and webhooks
Connections are advanced settings for exchanging information with payment providers and other systems. Obtain approved values from the integration owner before changing them.
Create a provider integration
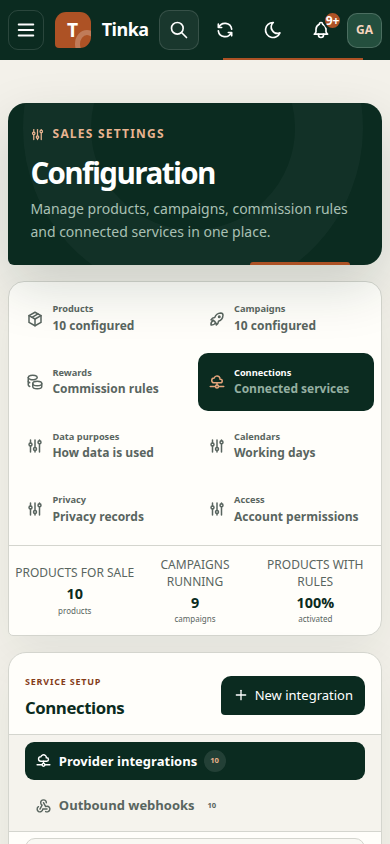
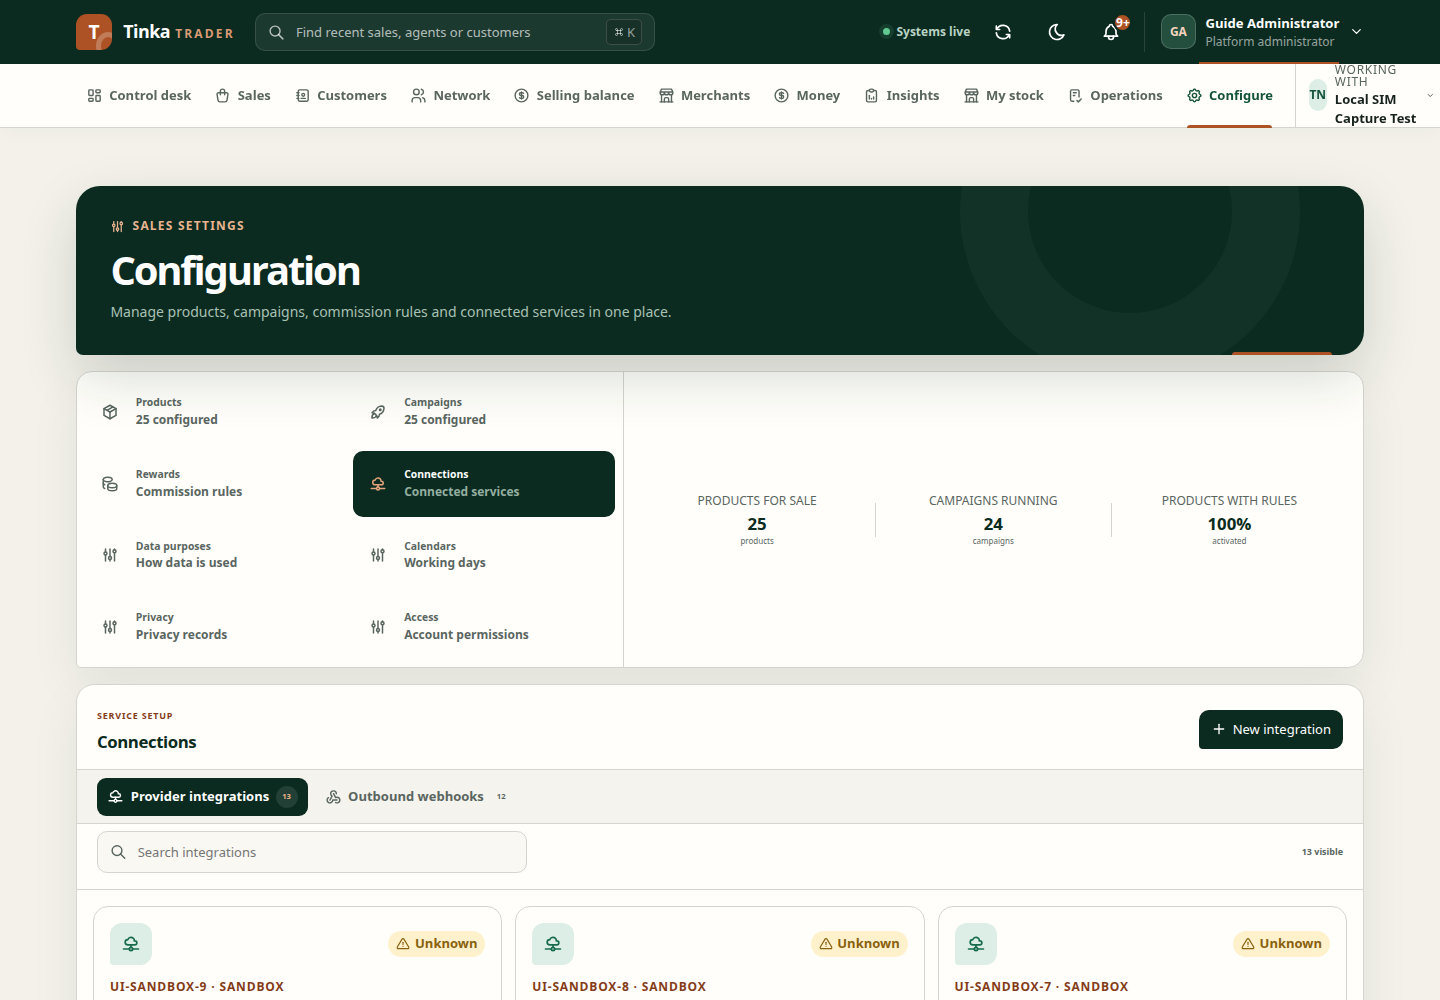
- Open Configure → Connections → Provider integrations.
- Select New integration.
- Enter Integration code, Provider and Environment. Check Sandbox versus Production carefully.
- Complete Signature profile, Endpoint base URL and Credential reference from the approved setup.
- Set Timeout (ms) and Rate limit / second as agreed with the provider owner.
- Choose its Capabilities, then select Allowed campaigns. These are the campaigns whose sales the connection may process. You can select up to 500; campaign names require campaign viewing permission.
- For Payment collection with Safaricom Daraja, choose PayBill or Buy Goods and enter the Collection shortcode (5–9 digits). This is the account identifier, not a password. Collection fields are not sent if Payment collection is deselected.
- Review and save, then open the connection to inspect assignments, capabilities, status and last successful exchange.
You may save a draft without assigned campaigns, but a connection that processes sales needs at least one before activation. An empty assignment does not grant access to every campaign. If campaign loading fails, select Retry campaigns; entered form values remain available.
A credential reference points to managed credentials; it is not a place to paste a secret key. Never put private keys or passwords in a description or support screenshot.
Maintain a connection
Use Connection controls to change supported lifecycle settings or the credential reference. Refresh if the current revision cannot be confirmed. Activation is requested separately for independent approval; there is no direct Active option in the status editor.
Save configuration changes first, confirm the required campaign assignments, then request activation and enter a reason. A different authorised checker reviews the request under Operations → Approvals. Inspect the connection after the decision. Pending approval does not mean the integration is active, and active status alone does not prove the remote provider is working.
While activation is under review, the connection keeps its public Draft or Suspended status. Open the approval in Operations to check review progress; the connection status alone does not tell you whether a request is already pending.
Campaign assignments can be edited while the connection is a draft. They are locked in this screen for other statuses. The server also checks whether the connection has previously become operational. If someone changes the connection while you are editing, close and reopen it to review their changes before saving again.
The inbound provider event receiver accepts the supported receipt workflow. The client does not provide full inbound provider event history here.
Create an outbound webhook
Open Outbound webhooks and Create webhook. Supply the approved HTTPS destination, Event types and Public key JWK. A public key is distinct from its private signing key; do not upload the private key.
The destination and verification key cannot be changed on an existing subscription through this flow. Create a new subscription when those values need to change. Review lifecycle controls, last successful delivery and consecutive failures.
Saving a subscription as active confirms endpoint verification has been completed. Do not assert that state until the required verification has actually occurred.
If deliveries fail, involve the integration owner with the subscription reference and error details. Repeated lifecycle toggles are not a substitute for fixing the remote endpoint.